THE LIGHTS
I started this project about six months ago, but it was on the back burner for quite awhile until I got enough of the interior completed to make sure it would be centered. The idea was to have a light console down the center of the bus, front to back, that was Streamline Moderne / Art Deco in style. To recap from previous posts; I drew the grill-work with a CAD program I downloaded for free, took it to a guy who water-jet cut a 4'x8' sheet of 3/16 aluminum into three 16"x84" grill panels. Then, I let them sit around for about six months during which the concept went through several morphs in my head.

As overhead height is critical (ceiling height is 6'), I wanted to keep the thickness of the console to under one inch. I looked at self adhering LED strips, they were 1/2" thick and perfect for the application, except they came in fixed lengths that didn't match the dimensions of the grill-work AND they cost $150 per 15 foot strip! Then, I discovered LED rope that you can cut to length (within one meter). I could buy a 150' rope for $150 - 1/10th the price! I hung them just to get an idea the amount of light they would put out.

So, how to attach the light rope to the grill-work. Criteria: Have to be easily replaceable. Have to fit one rope to a panel. Must fit within console trim which is 3/4" maple veneer plywood. I settled on Velcro sticky strips - 35' per panel. I stuck the hooks to the panel and the loops to the rope. So, has anybody noticed an increase in the number of really big spiders this year?? (Sorry ADD)


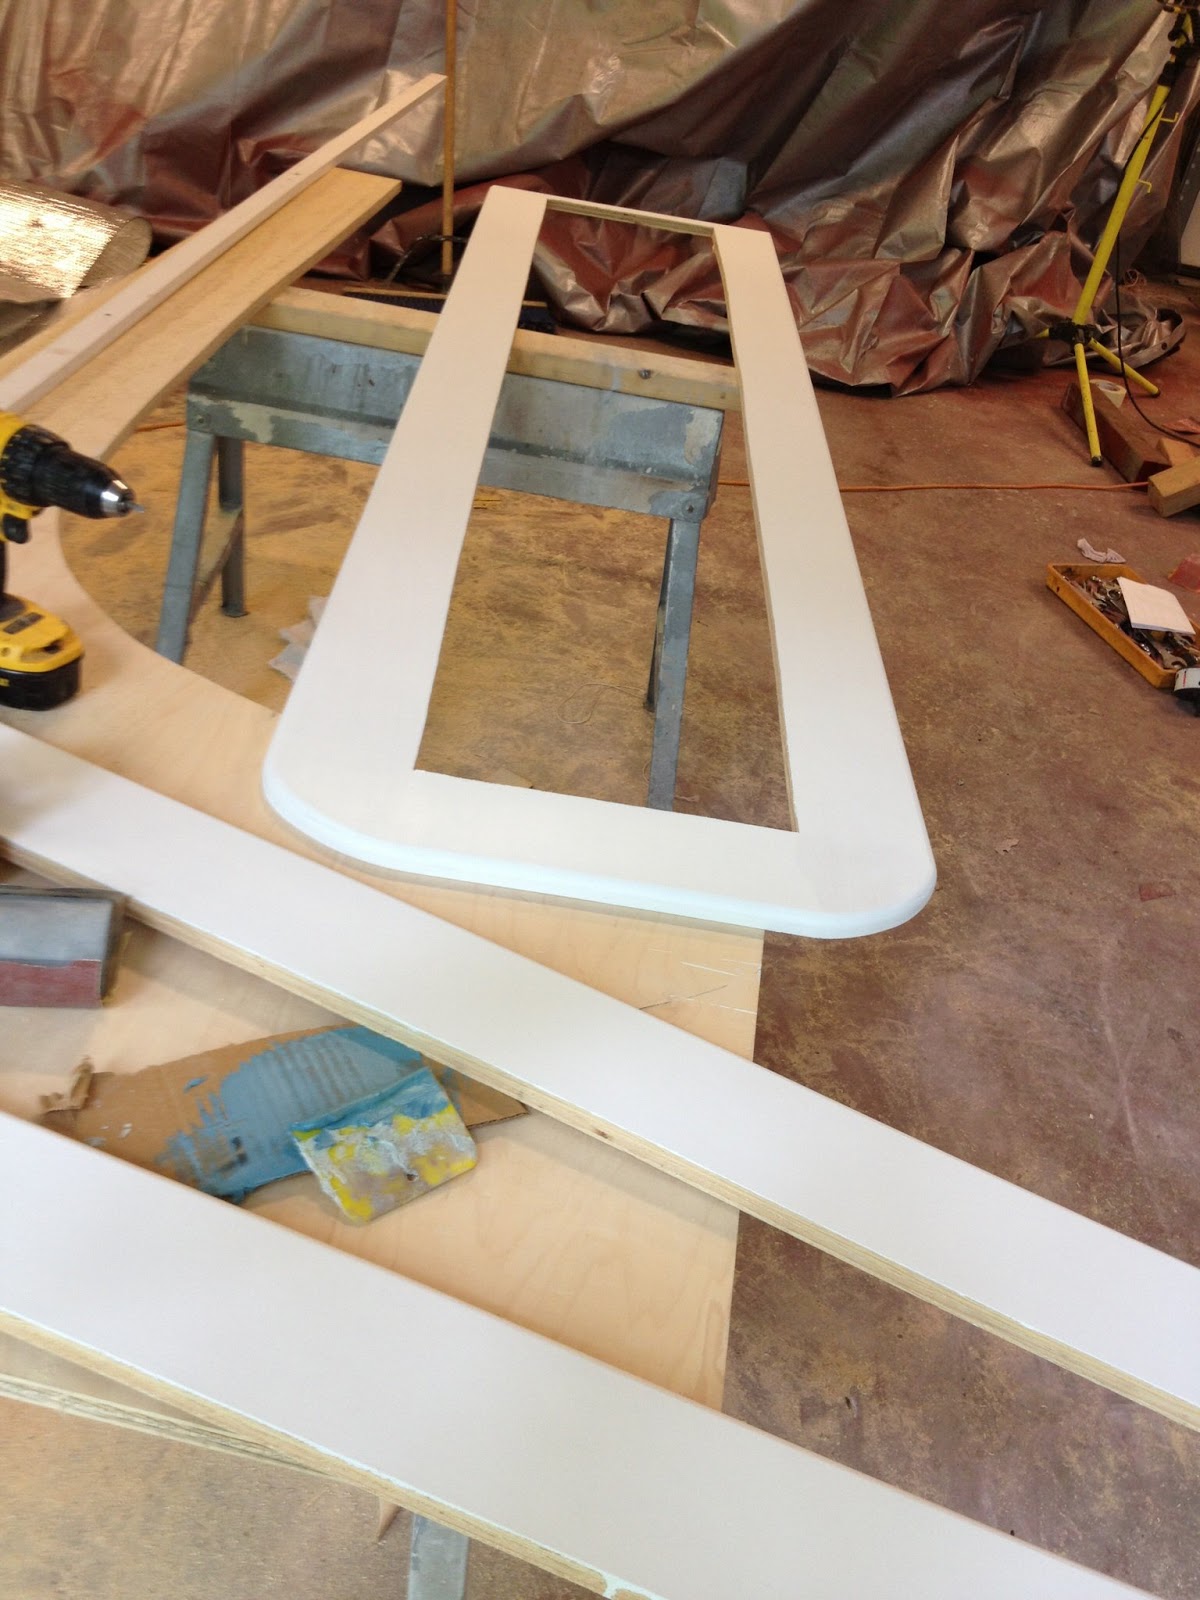
Then it was on to making the panel mounting frames. I cut these out of 3/4 Maple veneer plywood, routed the edges to 1/2" radius, sanded and painted. Then drilling aluminum grill-work and frames, adding T nuts, bolting grill-work to frames and then Velcroing (a present participle we didn't have before 1960) the rope to the grill-work.

Here's the flip side.
Bolted to the frame.
Polishing the grill-work.
Then stapled silver acrylic bubble insulation sheet to back side and screwed it to the ceiling. Bondoed (another new verb) all the screw countersink holes. One more coat of paint. Voila!
I ordered a remote that will switch up to 10 devices on and off. These will be hooked up to that system.


 So, how to attach the light rope to the grill-work. Criteria: Have to be easily replaceable. Have to fit one rope to a panel. Must fit within console trim which is 3/4" maple veneer plywood. I settled on Velcro sticky strips - 35' per panel. I stuck the hooks to the panel and the loops to the rope. So, has anybody noticed an increase in the number of really big spiders this year?? (Sorry ADD)
 Then it was on to making the panel mounting frames. I cut these out of 3/4 Maple veneer plywood, routed the edges to 1/2" radius, sanded and painted. Then drilling aluminum grill-work and frames, adding T nuts, bolting grill-work to frames and then Velcroing (a present participle we didn't have before 1960) the rope to the grill-work.


The lights look even better in person! Thanks for the tour!
ReplyDelete