THE
DOOR,
So, I
thought I'd zero in on one “small” part of the project and go
through it in detail to give a sense of all the little things that go
into getting it done. I feel I've been too general in the past and
have failed to convey the real “meat” of the process. I
apologize for that oversight.
 |
| Click to enlarge |
THE WORK
LIST:
Remove
broken window and save for template. I'll cut a new window out of
Lexan.
Remove
the beat-up bottom panel and replace with new aluminum sheet.
Repair
the seam along the front of the door that separated from the outer
skin.
Replace
broken section at the bottom corner.
Install
a keyed dead bolt lock.
Bump out
or fill several dents.
Make
door edges straight and smooth for proper gasket seal.
Sand and
paint hinges (still on the bus)
Reinstall
door
Replace 1.25 in. steel door jamb.
Replace 1.25 in. steel door jamb.
Install
new door seals.
So I'm
thinking three 8hr. days to completion. Turns out this was a 2x
project – it took six days.

Day One:
Remove the door from the bus. Removed the old window glass and the
beat-up panel on the bottom of the door. Go to Alro Metals and buy
sheet aluminum to replace the bottom panel and another piece to
replace the inside door panel. I had to cut large holes in this
panel in order to bump out the dents.
Day Two:
 |
| Riveting bottom panel |
 |
| 90° bend at one end |
 |
| Bottom panel replaced |

 Next was reattaching the steel
window frame to the door. .

 Then using automotive epoxy
panel adhesive, I repaired
the separated door skin seam
It took me awhile to figure out
a way to pull the edge of the
panel into the door skin
channel. I know it looks
hillbilly, but it worked.
This epoxy hardens very slowly – like 24 hrs. so while that was curing, I sanded the window frame.
Day
Three:
 Glued a
couple of eighth inch thick aluminum patches along the door edge.
One to reinforce the deadbolt placement, and one to repair a fatigue
crack. Cut access holes in inner panel to bump out dents. Bumped
out dents. Replaced small missing piece at bottom of the door.
Bondoed front and back door edges to make them smooth and straight to
ensure a good seal against the door frame gaskets.
Glued a
couple of eighth inch thick aluminum patches along the door edge.
One to reinforce the deadbolt placement, and one to repair a fatigue
crack. Cut access holes in inner panel to bump out dents. Bumped
out dents. Replaced small missing piece at bottom of the door.
Bondoed front and back door edges to make them smooth and straight to
ensure a good seal against the door frame gaskets.
Day
Four:
 I had
the large panel for the inside of the door cut at Alro, so all I had
to do here was drill, countersink, and screw the panel to the door.
I had
the large panel for the inside of the door cut at Alro, so all I had
to do here was drill, countersink, and screw the panel to the door.  Went to the hardware store and bought a keyed deadbolt lock. I took
it apart and replaced the brass trim with aluminum that I cut out
using a couple of hole saws. Cut holes in the door for the
deadbolt and installed in the door.
Went to the hardware store and bought a keyed deadbolt lock. I took
it apart and replaced the brass trim with aluminum that I cut out
using a couple of hole saws. Cut holes in the door for the
deadbolt and installed in the door.
Day
Five:
I'm
gett'n close here.. Sanded all the Bondo and primered the edges and the steel
window frame. Sanded the door hinges on the bus, sprayed with fill
primer and sanded again.
Then one more coat of primer. Sanded again, then painted the hinges
blue. This isn't the final paint, but it'll seal the primer and keep it from rusting.
Day
Six:

Still to be done:
Install new steel door jamb.
Drill hole for the dead bolt.
Install door seals
Install Lexan (I put in a temporary sheet of insulation board for now).

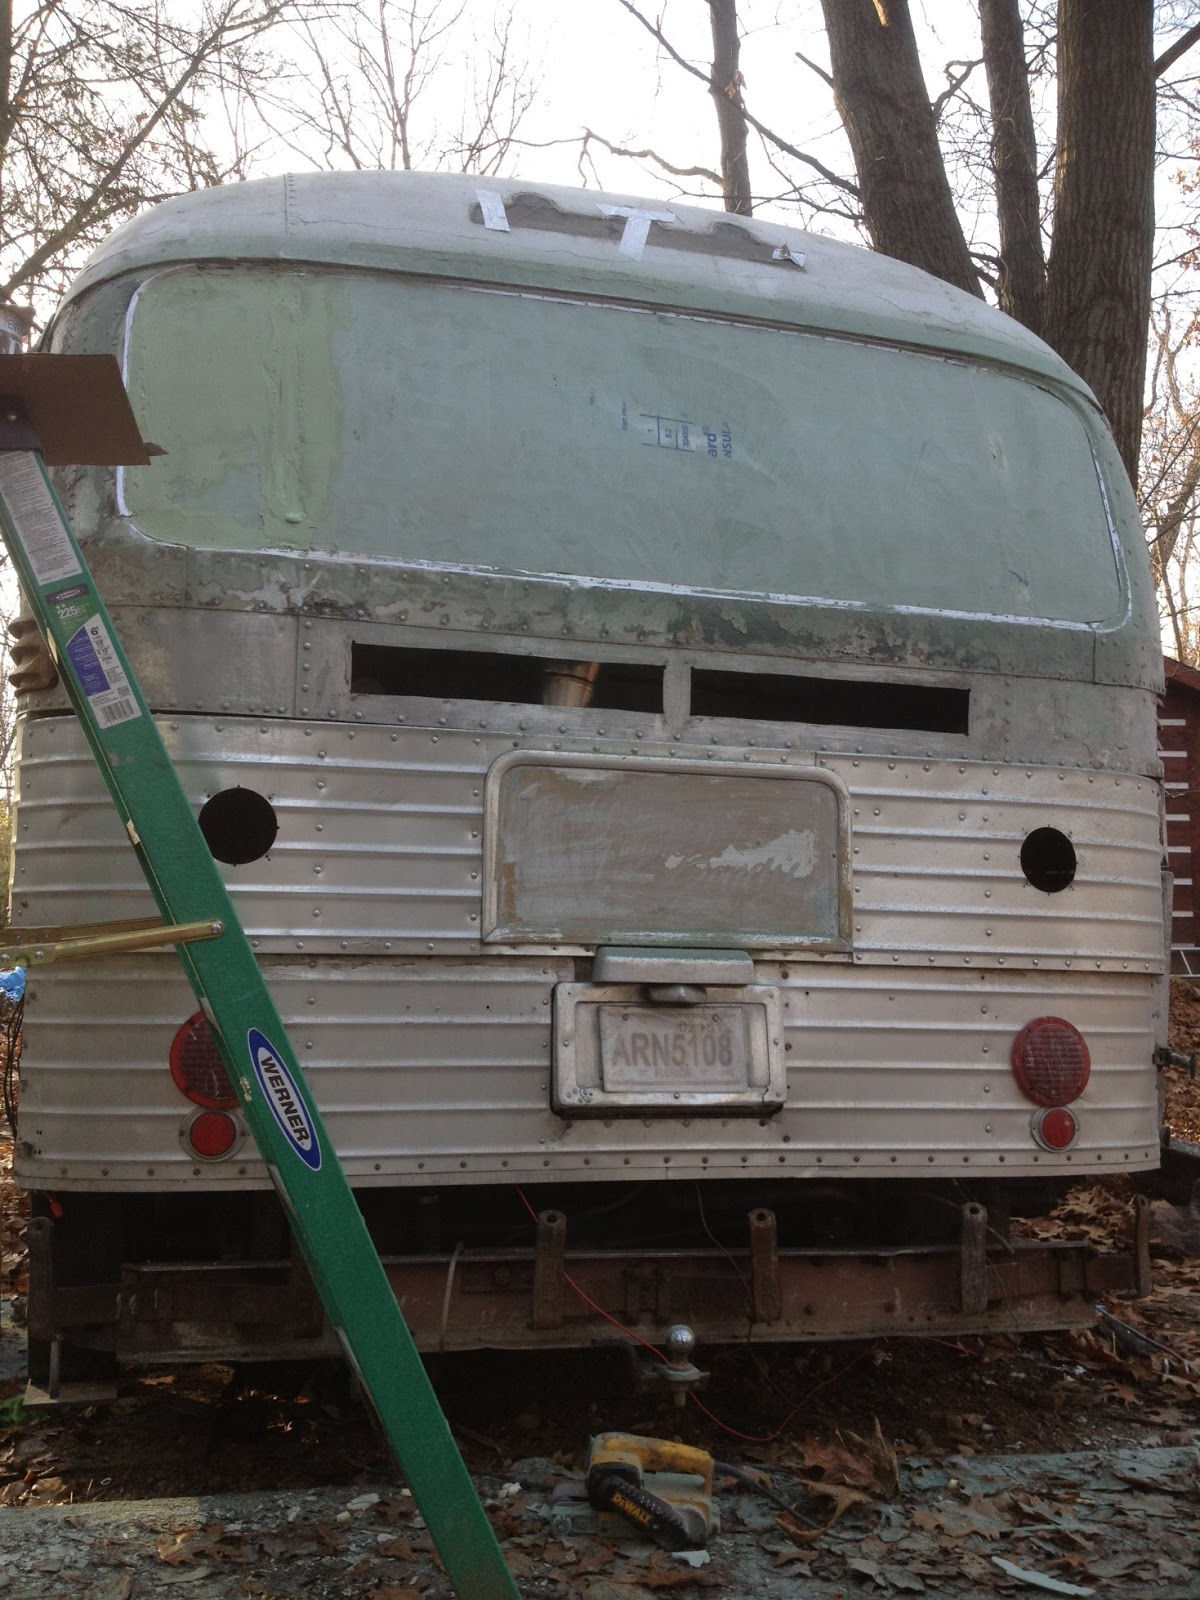
Since it has been so warm out, I shaped the rear window foam board replacement, and put a skim coat of Bondo over it. I'll probably have to wait 'til Spring to lay up the fiberglass. Too cold to get a good cure. I'm looking for a building I can rent for a month or so. That would allow me to finish the window and paint the bus.
No comments:
Post a Comment